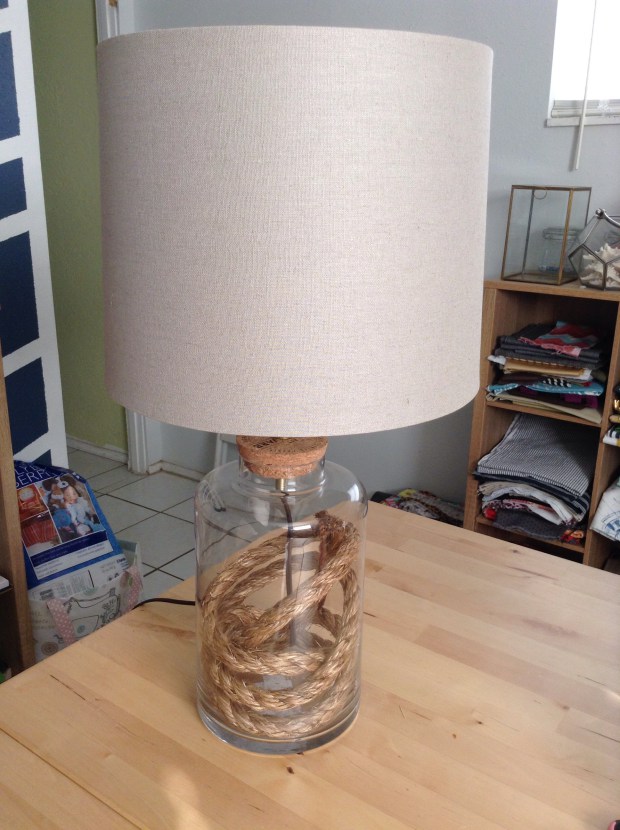
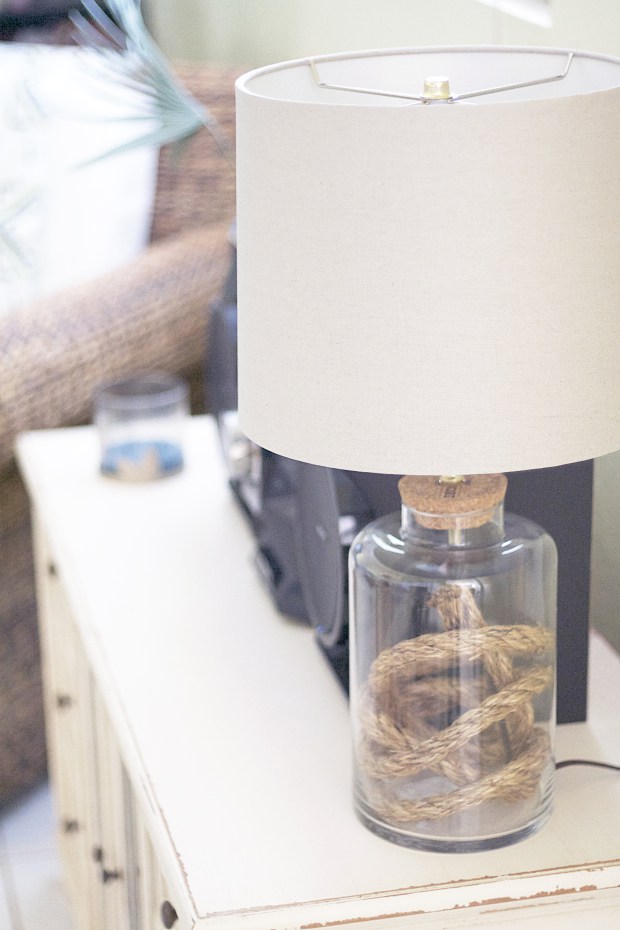
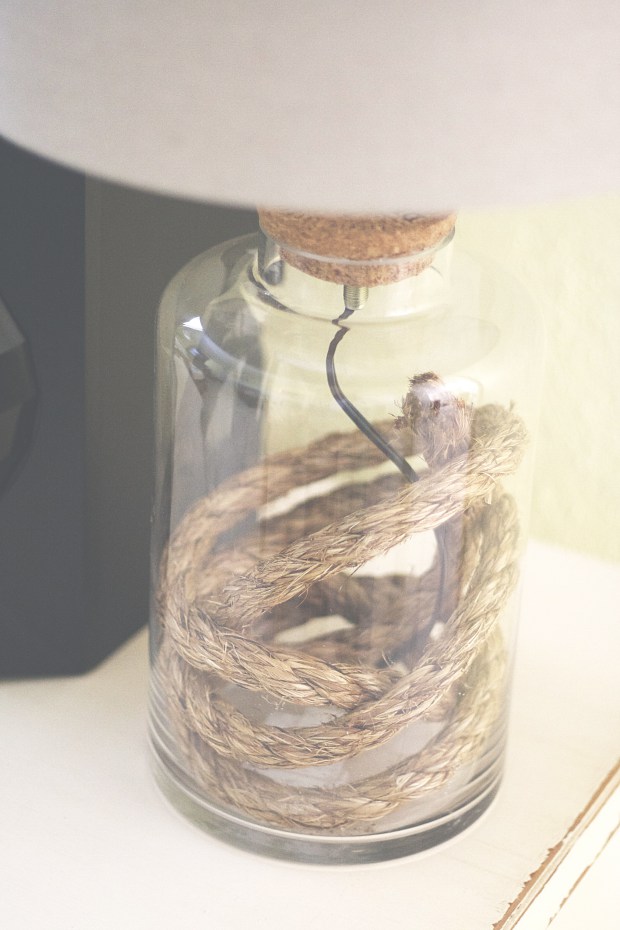
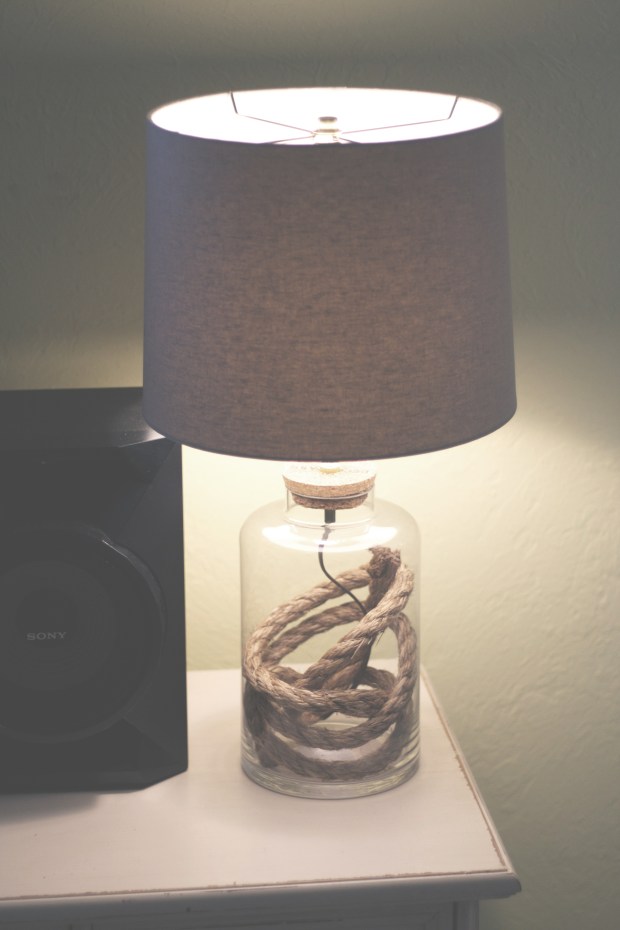
I had so much fun making this lamp! It took me no time at all once I had all of the materials I needed. The best thing about this lamp is that you can fill the glass with anything you want!! You can put photos inside, you could put starfish, rope, mercury glass balls….the options are endless! I chose rope because the lamp that inspired me had rope in it, but now I’m thinking I might just add a starfish as well.
The lamp that inspired me to do this was at Hobby Lobby and priced at $100. I know I could wait until they have their sale and get it for 50% off, but the thing about that is it might not be there when that happens. I also saw a similar one at Home Goods last night, but these lamps sell quickly. They are a hot commodity! So, if you can’t find one at the store for a decent price, you can make one yourself for under $50.
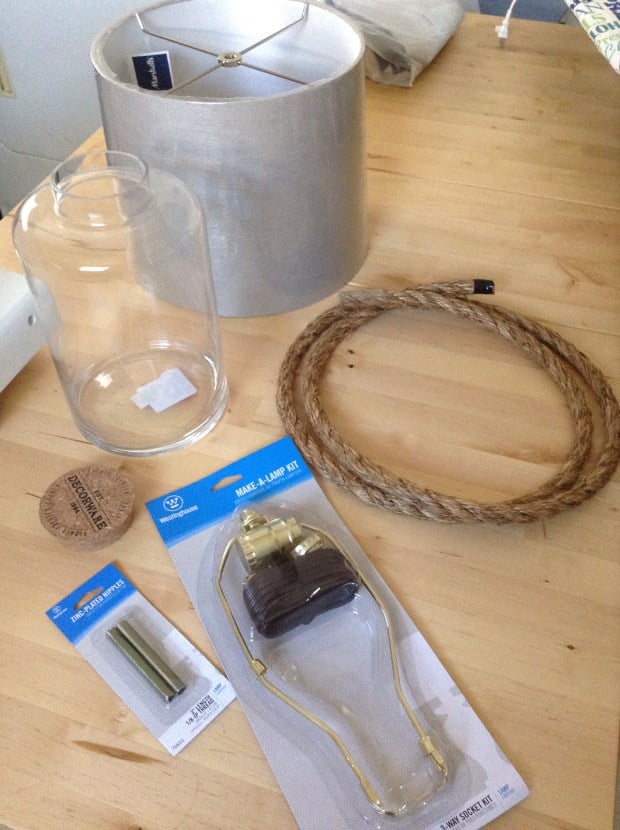
I purchased my glass vase on clearance at Home Goods for only $5. The lamp shade was from Marshall’s for $15. The light kit was $13 from Home Depot (as well as the nipples for $3) and the rope was 6′ long from Home Depot for a little over $4. I plan to buy another harp that is only 8″ high as the one that comes in the kit is 10″ and too tall. This might also help reduce the wobbliness of the lamp/top. I’m also going to look for rubber grommets to go around the chord where we drilled into the glass, but for now I am not worried. Once my next DIY is done, the lamp will have a new home where it will sit for a long time.
You will need:
- a light kit
- light kit nipples (extra)
- a lamp shade
- a glass vase
- cork
- rope (or other decorative items)
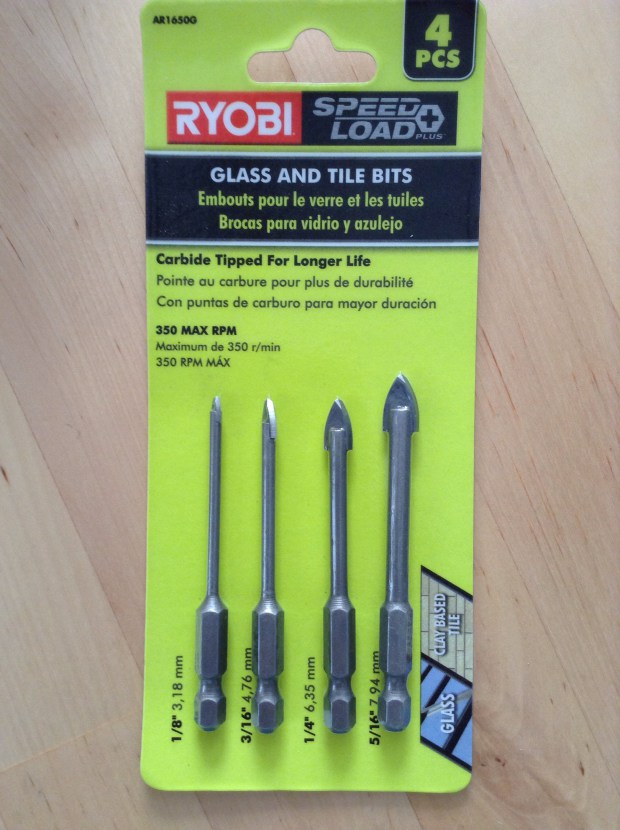
- glass drilling drill bits
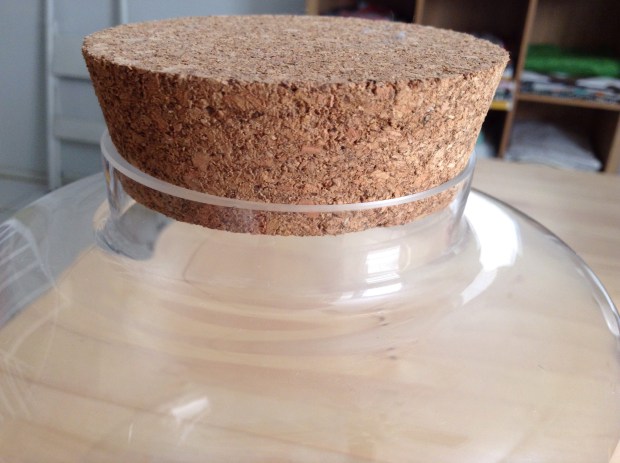
The cork I used actually came from a candle that I had and was getting ready to clean out for another use. It worked perfectly for my vase, except I did have to carve it down a little. Warning: you want to carve it so that it slides snugly down into your vase. This will be slightly top heavy and wobbly when you move it around. You don’t want it in the reach of small children.
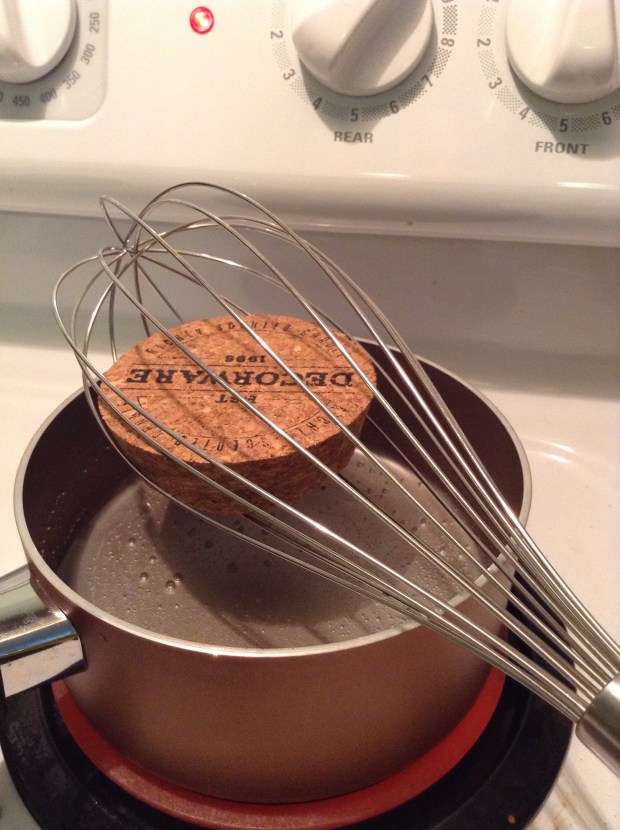
To carve it without it crumbling, set it in a metal strainer above boiling water for several minutes (or in a whisk as I have done since I didn’t have a strainer). Carve immediately after removing it from it’s steam bath.
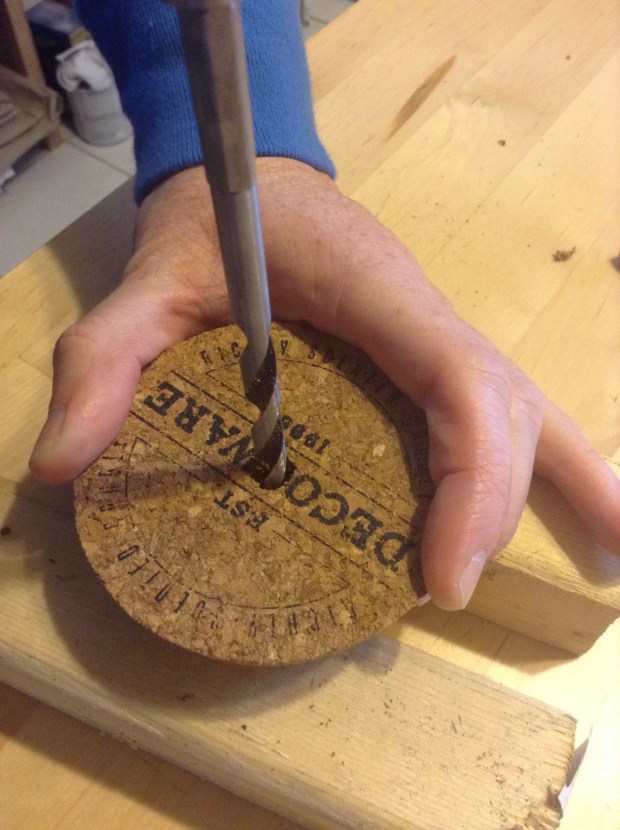
Next, gently drill a hole in the top of your cork that will tightly accommodate the nipple piece from your lamp (the long, rounded threaded piece that everything attaches to.
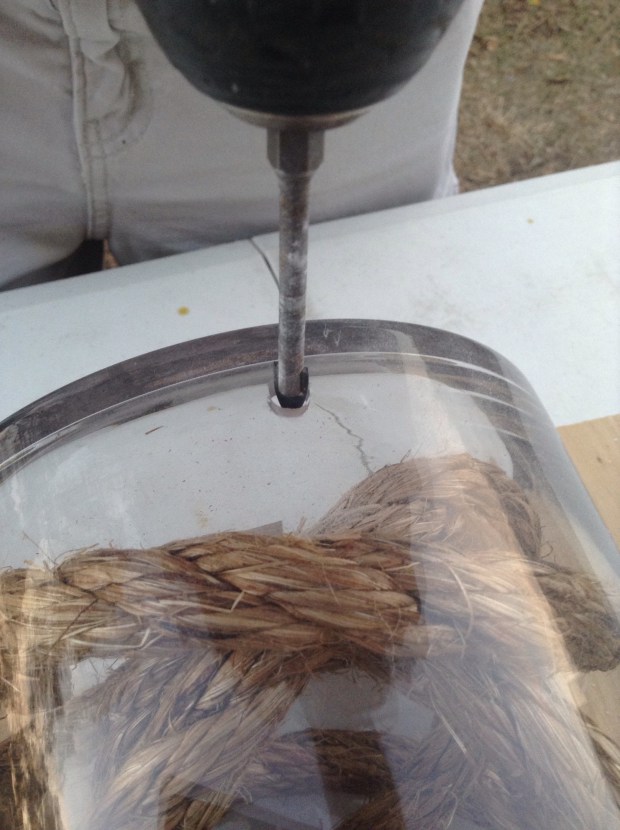
While you are drilling, drill a hole at the base of your lamp where your chord will come out. Use your special glass drilling drill bit.
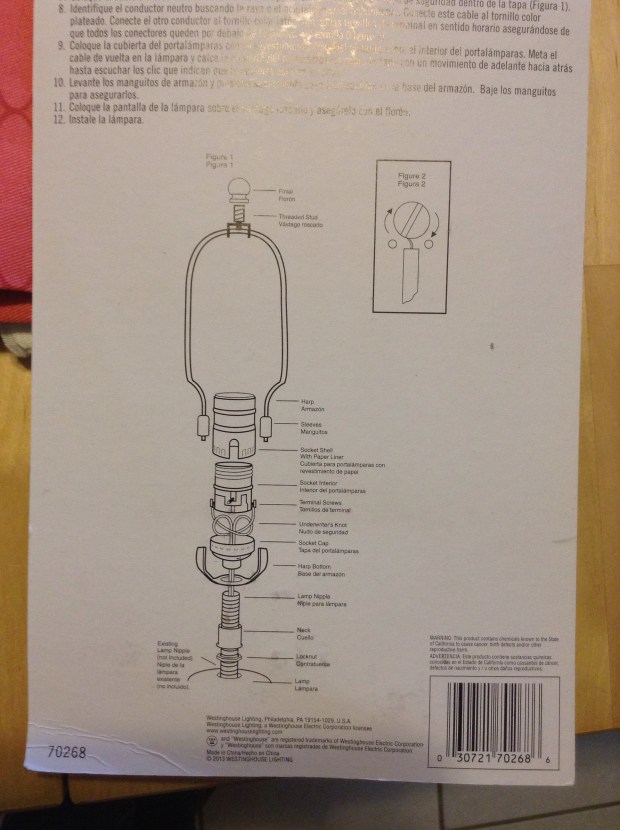
Run your chord through the hole at the base and up through the nipple. Assemble the lamp as per the instructions on the back of the kit.
Now finish putting your cork in place and your lamp shade on and you are done!! That simple!

